Set up the Welcome Email
Modified on: Thu, 15 Apr, 2021 at 4:28 PM
You can set up and customize two emails in Zapiens. Depending on how you want users to access the App, you can set up and customize one email or another.
We briefly explain both emails:
Welcome email:
The email will be delivered to your organization’s users when you register them in Zapiens
They will need to create a password and log into the App
Registration mail:
Your organization’s users will receive the email when you don't register them in Zapiens and you want them to register by themselves
They must register with a registration code. The registration code must be provided through an internal communication in your organization
They will have to create a username and password at the time of registration
After this process, they will need to log in with the credentials they have created
How to set up the Email?
At the top right, click on the "Three-dots vertical" button and click on the "Settings” option
In the section "Register and Terms", you can set the following fields:
“Sender name". The default sender's name is “Soporte” (Support), you can change it if you need to
"Sender email". The default sender email is Zapiens email, you can change it if you need it
Enable one of the emails
If you don't add information in the “Subject email" option, the default subject is:
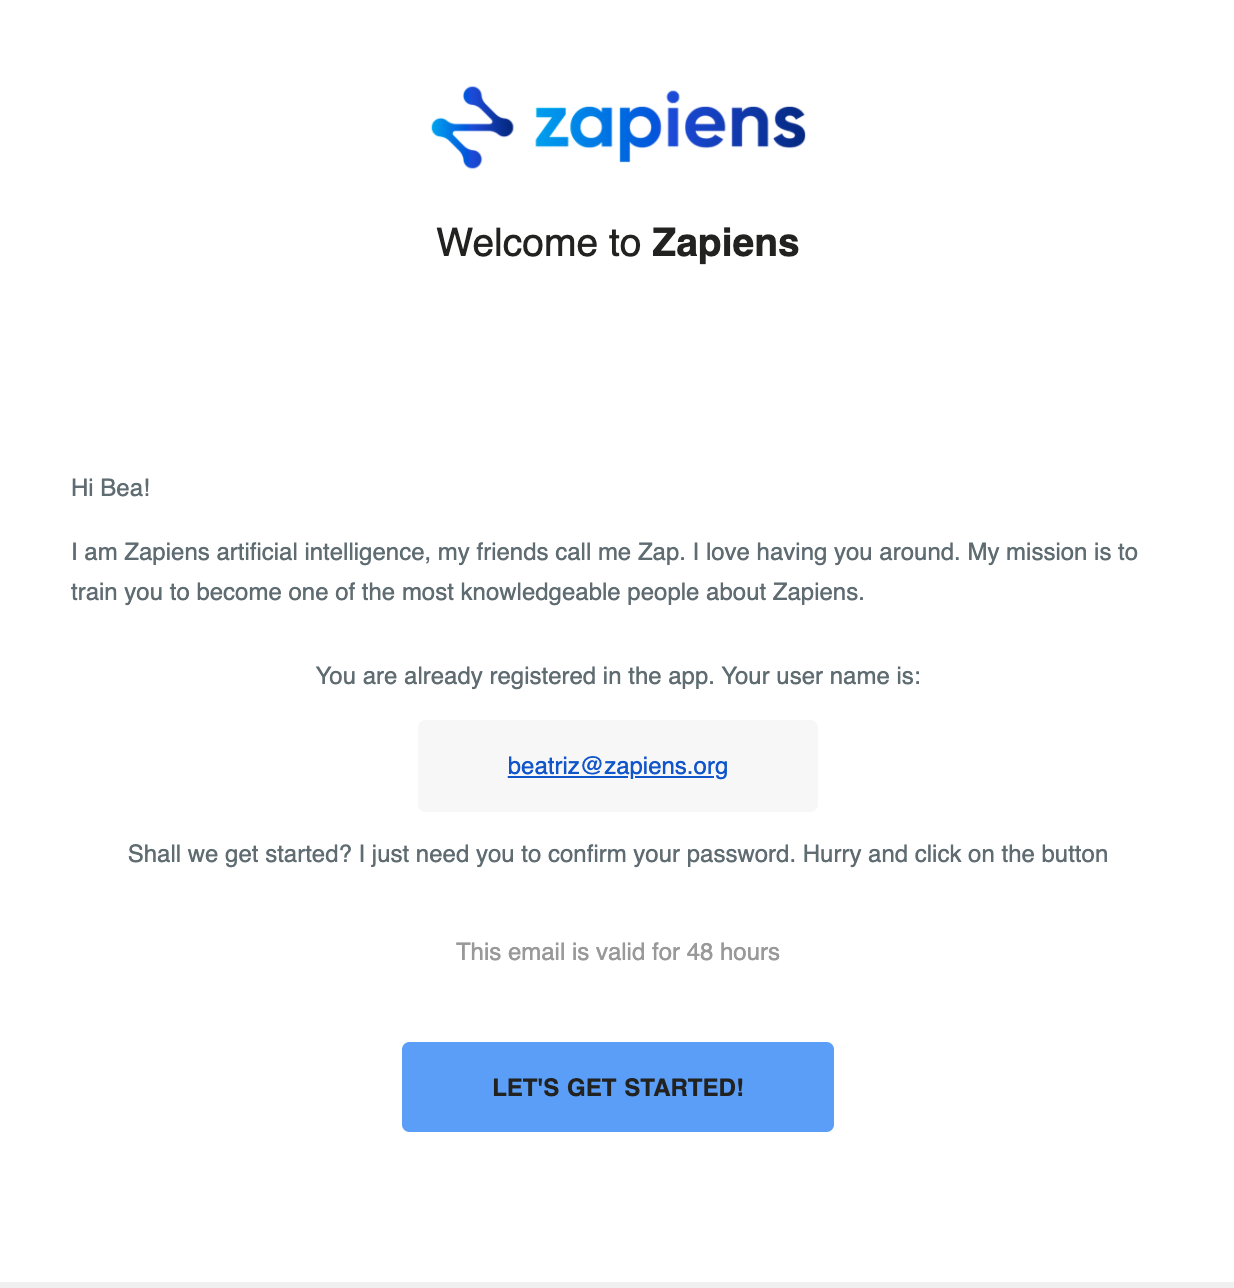
In the welcome mail: Greetings from Zapiens
In the registration email: I bid you welcome to Zapiens
Write the content of the email
Click on the "Save" button at the bottom right of the page
Tips for adding html and images in the Email
Html: You can include a simple Html code for each user to receive personalized information
User. Click on "User" if you want to add the username with which the user will need to log into the App
Name. Click on "Name" if you want to add the name of the person to whom the email is addressed. For example, type Hello *|FNAME|*! and the person will receive Hello Anne!
Images: To add images in an email, you need an image server that provides a URL. On the internet, you can find a wide variety of alternatives. We recommend Imgur.com
To add images follow these steps:
Click on the "Picture" button
On the pop-up window:
Copy the url from the image
Click on the "Insert Image" button
Click on the inserted image to edit its size and position or to remove it
Links: To add an external link to a web page or a document in your organization's cloud:
Select the text to which you want to add the link
Click on the "Link" button in the menu
In the pop-up window, paste the link in the "To what URL should this link go?" part
Click the "Insert Link" button to save the changes
Note: If you do not set up and customize any welcome mail, the user will receive a default email with the following structure:

Note: If you do not set up and customize the registration mail, a default email with the following structure will be sent:
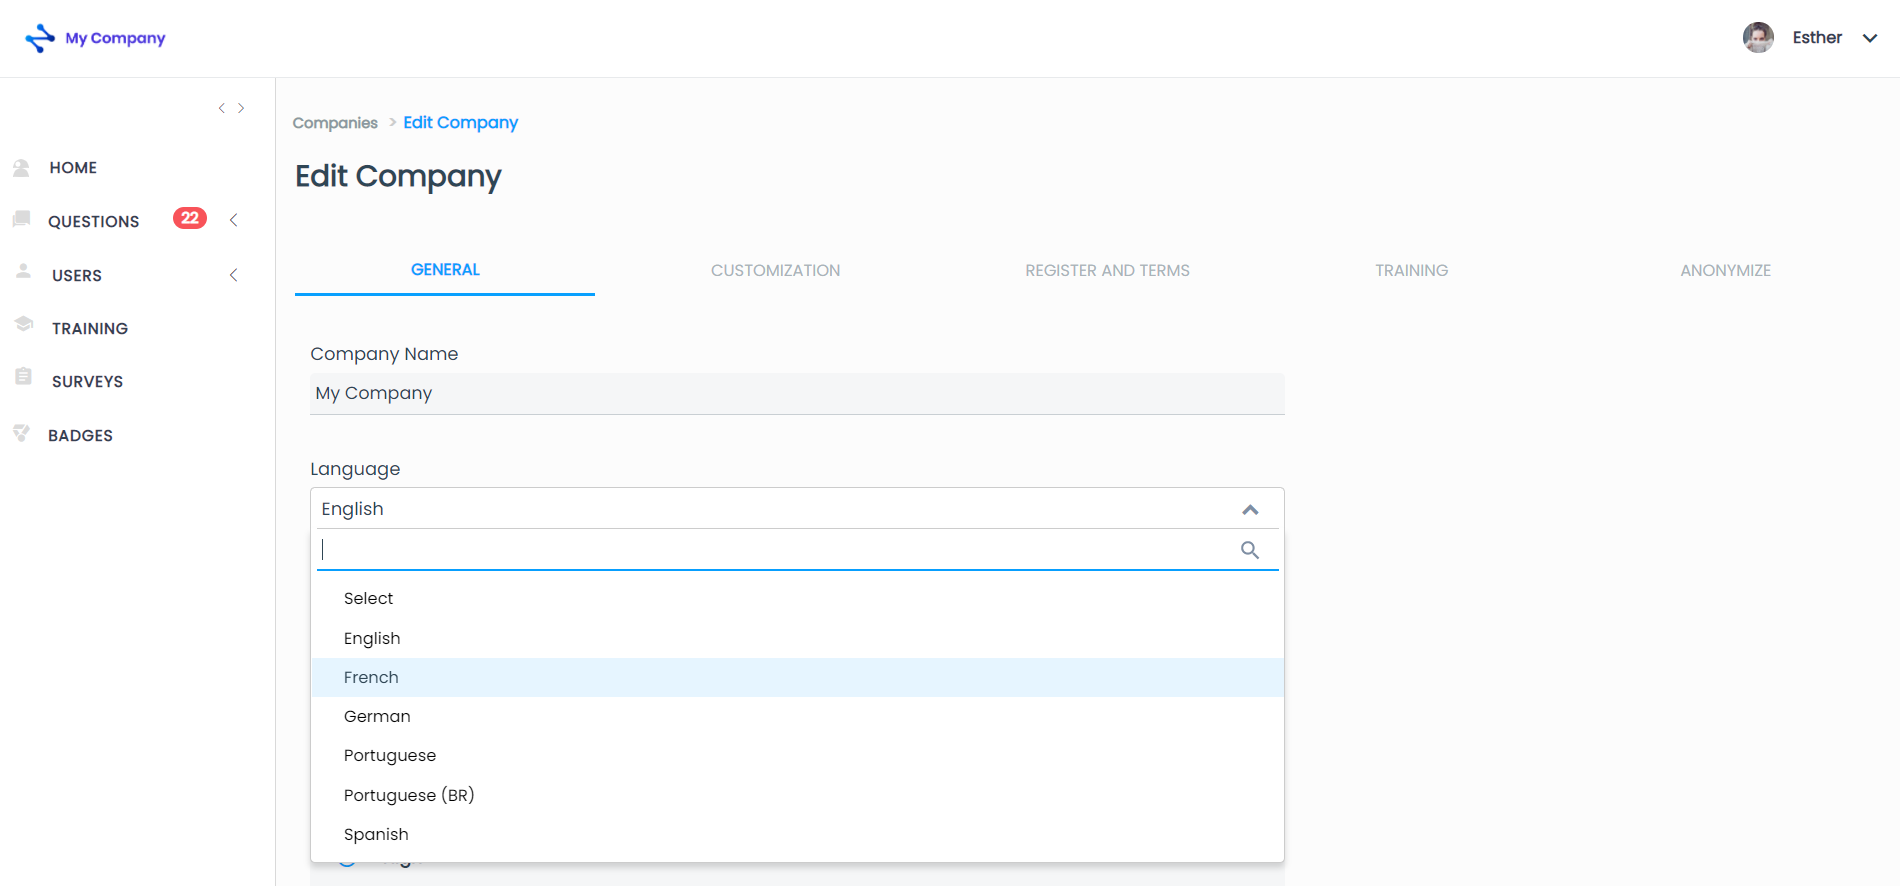
Note: You can choose the language of the default emails and the language of the default training notifications. To do this, follow the next steps:
At the top right part of the Administration Area click on the "Three-dots vertical" button and click on the "Settings" option
In "General", click on "Language"
A menu will be displayed. Choose the language: Spanish, English, French, German, Portuguese or Brazilian Portuguese
Click on the "Save" button at the bottom right of the page
Did you find it helpful?
Yes
No
Send feedback Sorry we couldn't be helpful. Help us improve this article with your feedback.
 check ticket status